List View
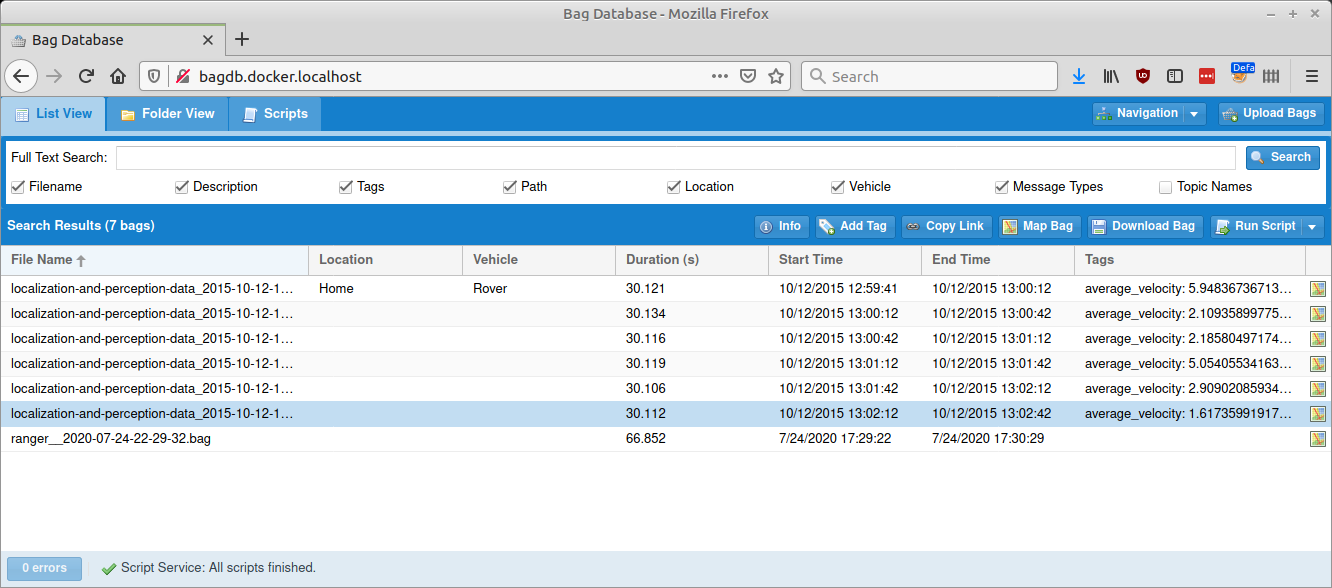
The primary interface for the Bag Database is a grid that lists all of the bags. It can filter all of the bags by various criteria, view details about their contents, and perform various actions on them.

Searching & Filtering
Full Text Search
If text is entered in the text field at the top, clicking the “Search” button will filter the grid so that it only lists bags which contain that text in any of the checked fields.
Filtering
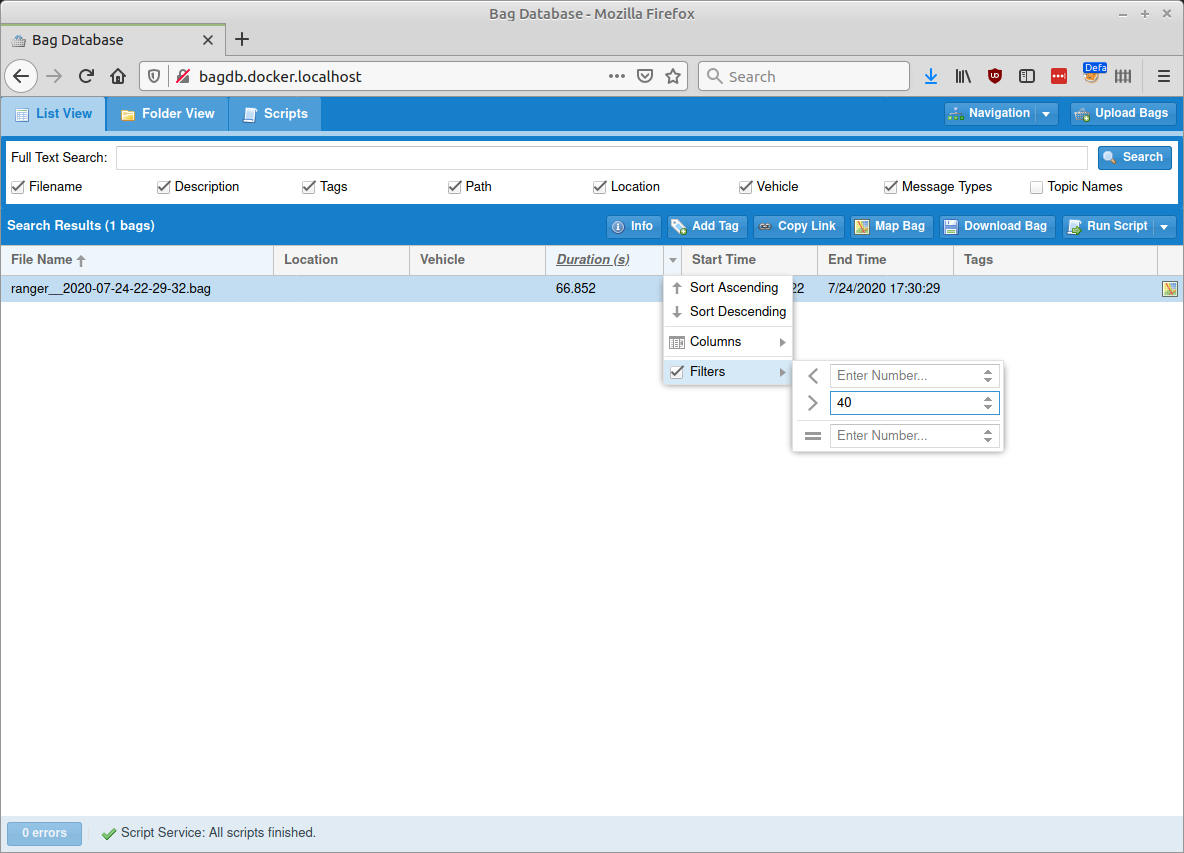
For more detailed filtering, it is possible to set filters on individual columns.

Hovering over a column’s headerand clicking on the arrow on its right side will display a sub-menu that can be used to set a filter on that column; only bags that match all of the filters will be displayed.
Visible Columns

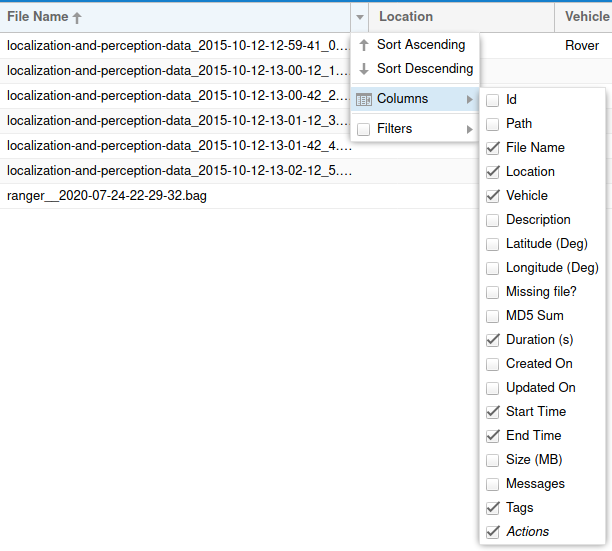
Note that not all columns are visible by default; columns can also be hidden and shown through the drop-down menu in the header row.
Actions
Multiple actions can be performed either by selecting bag files are clicking buttons in the Search Results title bar or by right-clicking on individual bags.
Info
Displays a window with detailed information about the bag. See Bag Details
Add Tag
Adds a tag with a value to a bag or set of bags; tags can be searched through the Full Text Search box.
Copy Link
Copies links to the clipboard that can be used to download the selected bags.
Map Bag
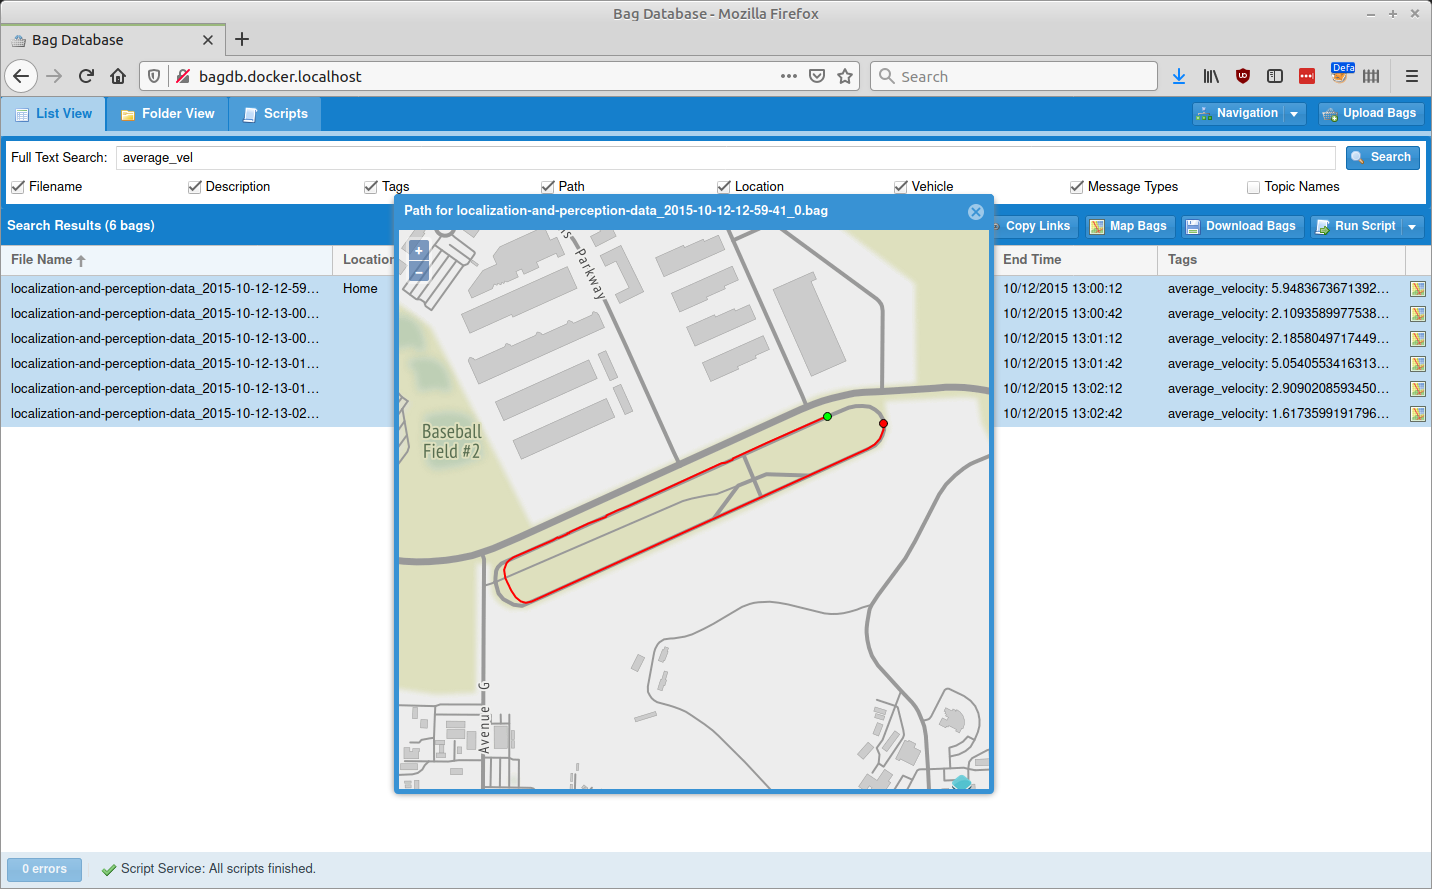
Displays a map that displays all of the selected bags’ GPS coordinates as a single route.
Note that the map icon on the right side of each row acts as a quick link to display the coordinates for only that bag, and it also serves to quickly indicate whether a bag has any GPS coordinates at all; it will be grayed out if none are available.

By default, the Bag Database uses map tiles provided by Stamen, which are freely available under the CC BY 3.0 license. Configuration options as described in Docker can be used to load tiles from a different WMTS tile server or from Microsoft Bing.
Download Bag
Downloads the bag file.
Run Script
Runs a script on the selected bag file. Refer to the Scripts section of the Web Interface for details on the UI or the Scripts top-level section for information about how they work in general.
When a script runs, a window will appear that displays the Run UUID. Every individual run is assigned a unique ID that can be used to associate it with its results in the Script Results panel later.