Local tile_map imagery
Pre-requisites
First, ensure mapviz and its tile_map plugin are installed
$ sudo apt install ros-$ROS_DISTRO-mapviz ros-$ROS_DISTRO-tile-map
Then, install GDAL. GDAL is a geospatial translator library that can handle import/exporting and transforming various geospatial data formats.
$ sudo apt install gdal-bin
Get the data
You need a source of geospatial raster data! Specifically a raster format that GDAL can work with. One example guide is provided here for reference only.
Geo-wrangle the data
Once you have the data it is time to format it to XYZ WMTS tiles (the format mapviz’s tile_map plugin expects). Thankfully, GDAL makes this simpler than it could be.
Single File
Fairly easy and simple. Using test.tif as an example file with geospatial reference:
# could be used to see all sorts of metadata for test.tif
$ gdalinfo test.tif

# the command we actually want to see what sort of bands we're dealing with
$ gdalinfo test.tif | grep Band
Band 1 Block=2672x392 Type=Byte, ColorInterp=Red
Band 2 Block=2672x392 Type=Byte, ColorInterp=Green
Band 3 Block=2672x392 Type=Byte, ColorInterp=Blue
Band 4 Block=2672x392 Type=Byte, ColorInterp=Alpha # We don't want the alpha, so note this band to skip

# Remove the alpha by selecting all other bands with `-b #`
$ gdal_translate -b 1 -b 2 -b 3 test.tif test_no_alpha.tif

# Convert to WMTS tiles in the proper directory structure of `<output_dir>/<level>/<x>/<y>.png`
#     -z manually sets desired zoom levels. If left blank it will only output tiles in levels where the data would be visible.
#     --xyz Use OGC WMTS standard format for output. This is the format that matches what mapviz expects.
# More info: https://gdal.org/programs/gdal2tiles.html
$ gdal2tiles.py --xyz test_no_alpha.tif

# Check that the output makes sense with gdal's generated preview using a browser, like chrome.
#     Check the "Layers" box in the top left
$ google-chrome test_no_alpha/leaflet.html
Multiple Files
Similar steps to above, just need to build a virtual dataset first to work with. First, create a text file containing the list of input files that looks like the following:
$ cat input.txt
test1.tif
test2.tif
test3.tif


# Could be created with various bash tricks (here choosing all GeoTiffs in current dir):
$ ls *.tif > input.txt
Now, use GDAL’s virtual format to treat many files like one:
# Use input.txt from above
$ gdalbuildvrt --input_file_list input.txt test.vrt

# Same steps as for single file now:
$ gdal_translate -b 1 -b 2 -b 3 test.vrt test_no_alpha.vrt

$ gdal2tiles.py --xyz test_no_alpha.vrt
Add custom tile_map source
Make sure you have an origin set
Without a local xy origin set, mapviz will be unable to convert between ROS’s TF frames and its geospatial reference system (wgs84).
# Making an origin at SwRI's campus
$ ros2 topic pub /local_xy_origin geometry_msgs/msg/PoseStamped "header:
  stamp:
    sec: 0
    nanosec: 0
  frame_id: 'map'
pose:
  position:
    x: -98.601085
    y: 29.441902
    z: 0.0
  orientation:
    x: 0.0
    y: 0.0
    z: 0.0
    w: 1.0"
Setup mapviz
In a new terminal launch mapviz:
$ ros2 launch mapviz mapviz.launch.py
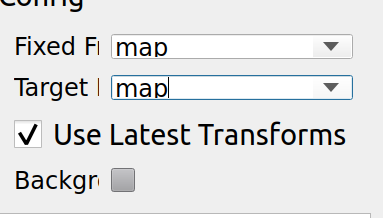
Set Frames:
Choose the same fixed frame as the frame_id of the published origin. Or at least a frame that has a valid transform to that frame through the TF tree.

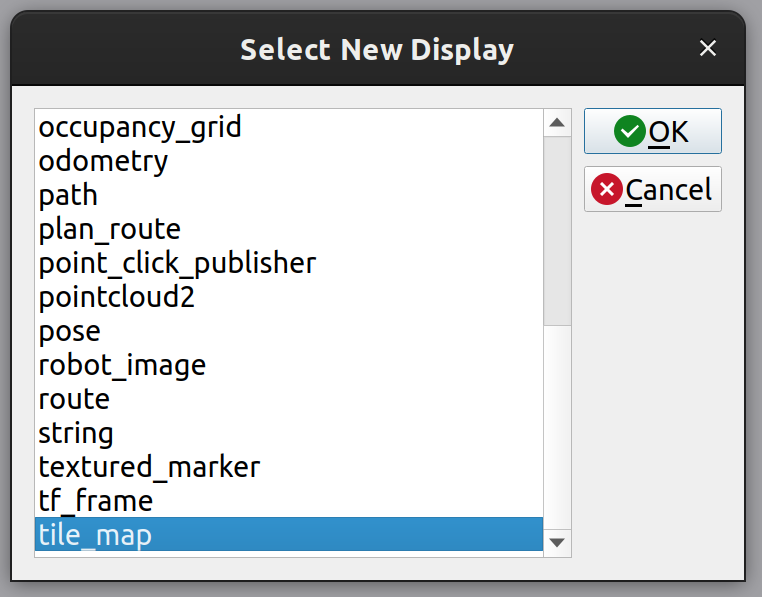
Add tile_map plugin

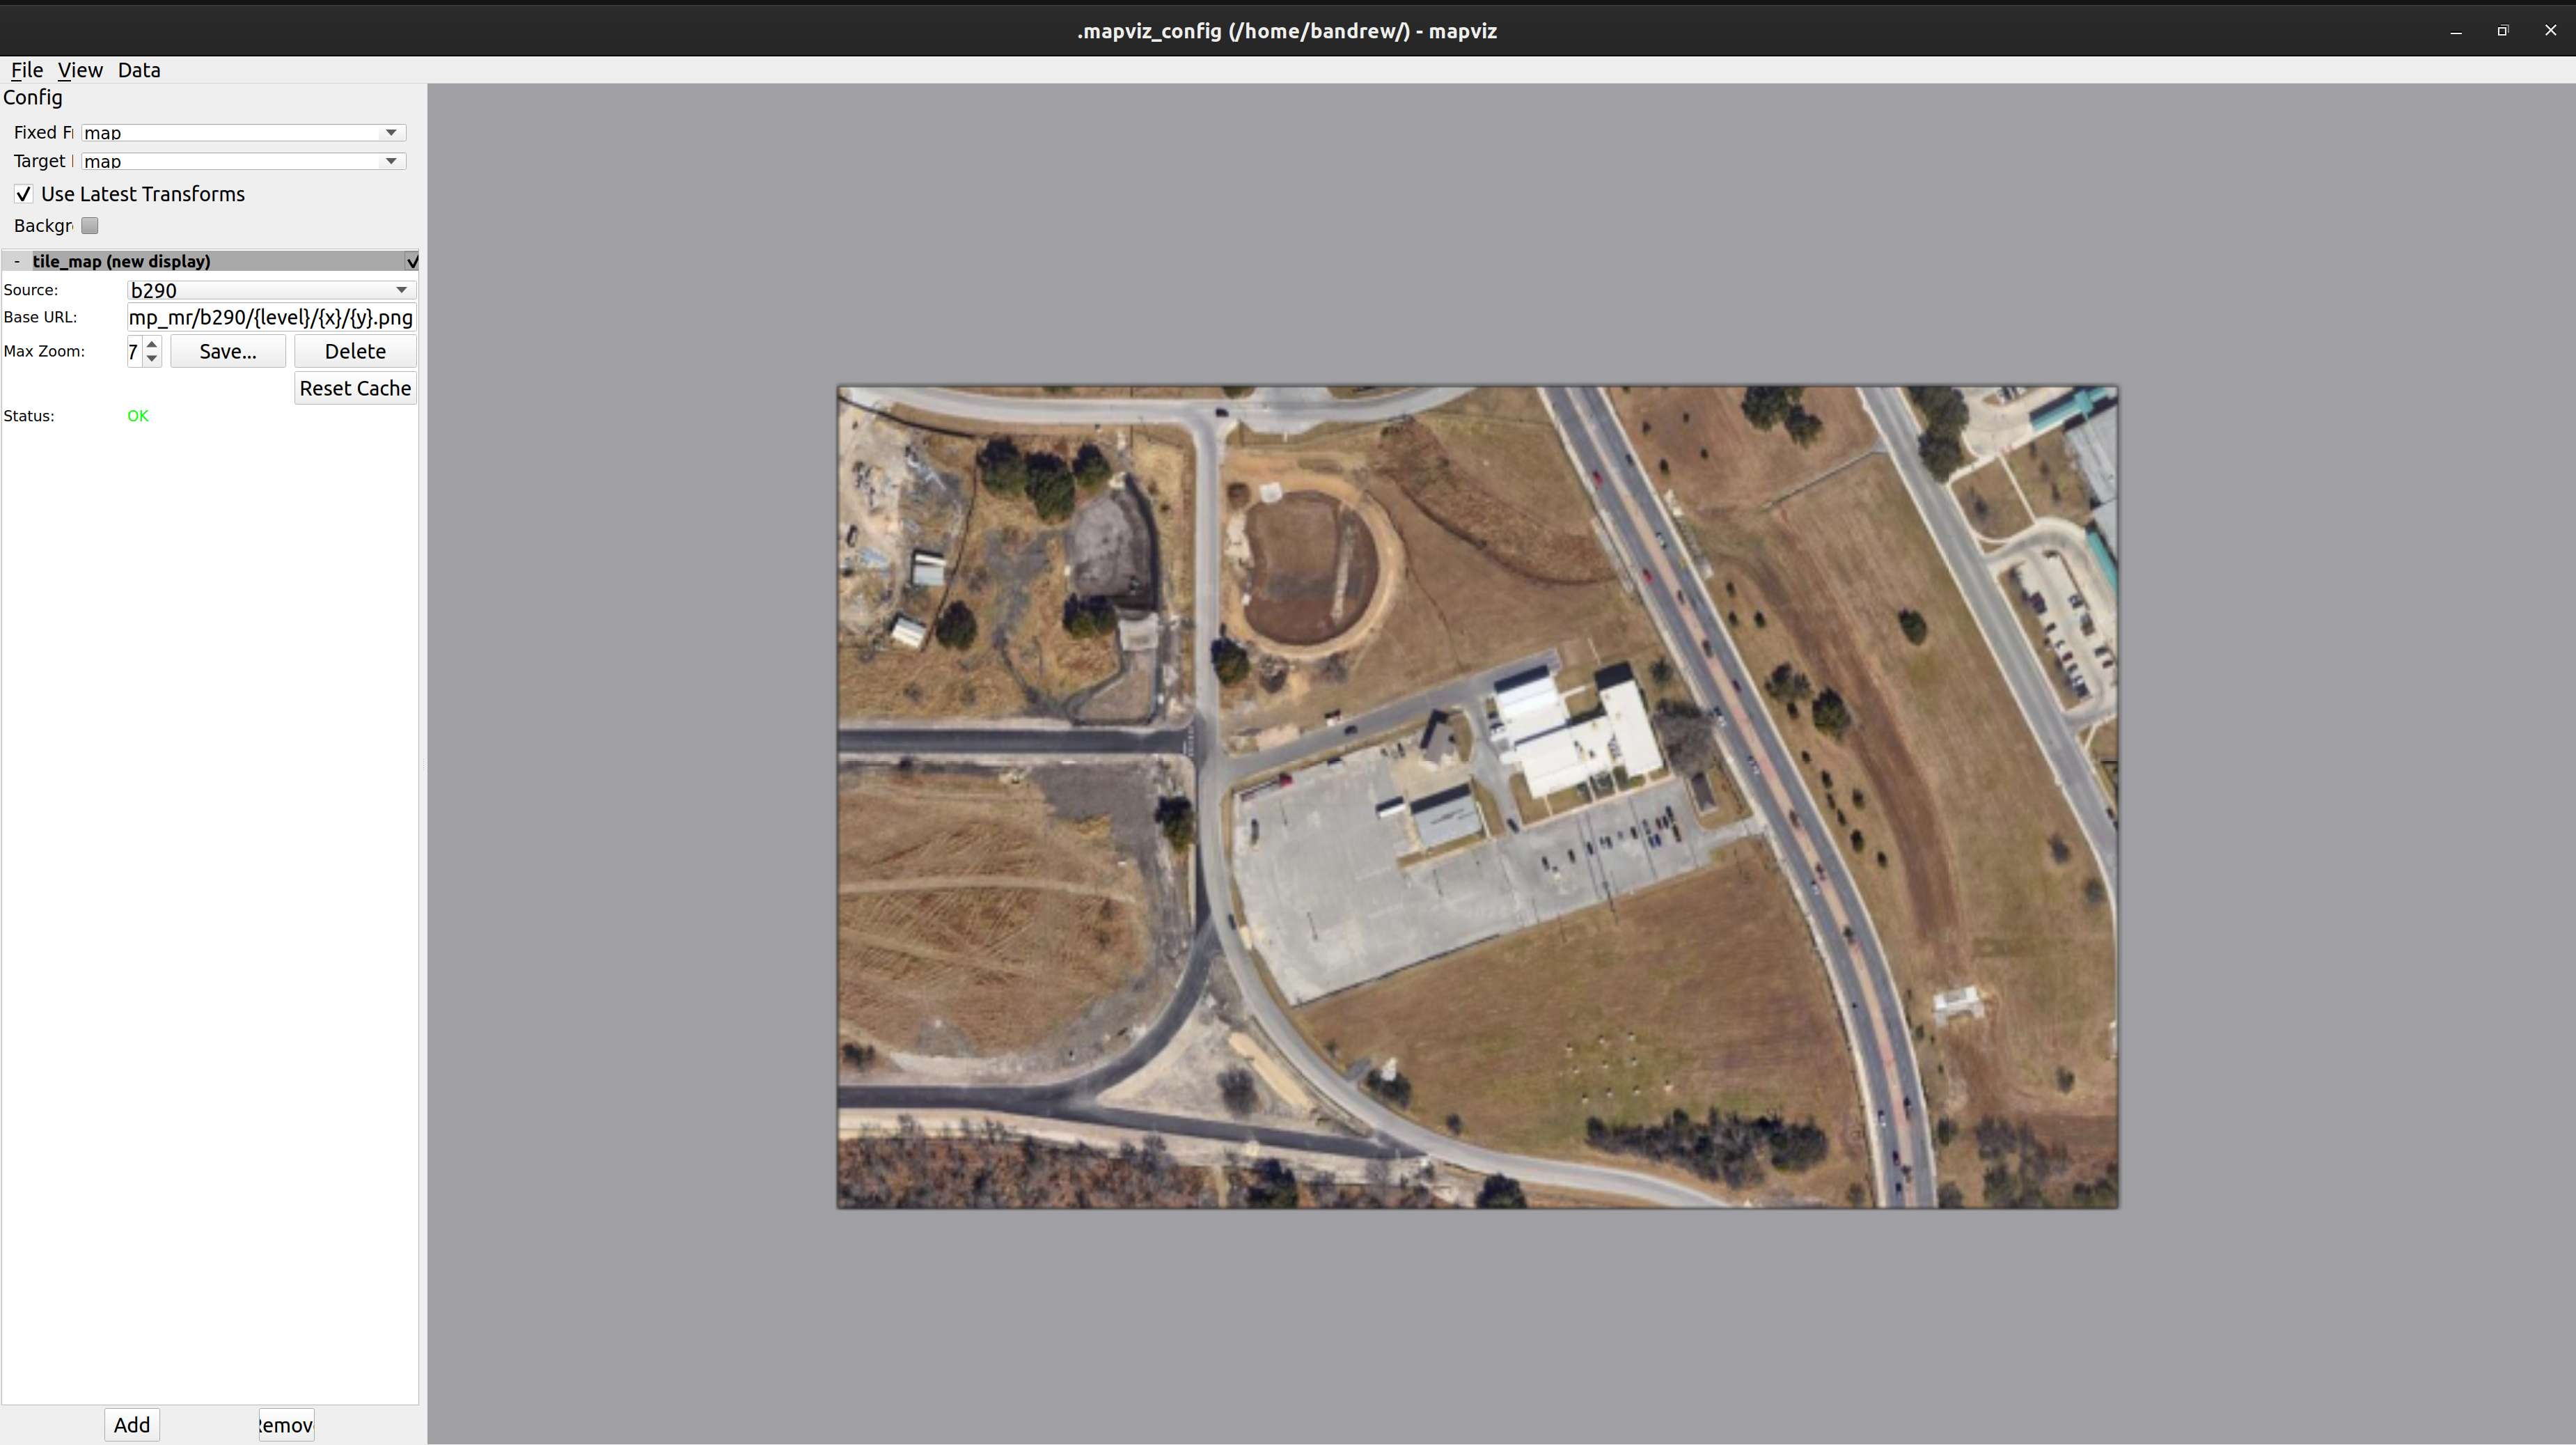
Configure new Custom WMTS Source
Replace the Base URL with your own path: file:///some/path/to/created/tile/map/dir/{level}/{x}/{y}.png
Set the max zoom to the max zoom specified in previous steps. Save the WMTS source to your mapviz current config. You may need to use the dropdown menu to switch to the saved config to trigger mapviz to reload.

Caveats
- Note that this will not persist between multiple mapviz configs.
- If the tile map directory moves, you will need to update the URL to point to the new location.
- If you wish to have this point to a path relative to a ROS package or any changing path, you will need a script to edit your mapviz config before launching it.
- Crashes have been noticed in cases where you have a large map with certain levels not fully populated.
Enjoy local maps
